NOTE: In this article, we use support@nctest.info and privatemail.com address as an example. Replace these with your actual email address and actual website address.
Follow these steps in order to add a new email account.
1. Open Microsoft Outlook 2019 on your device.
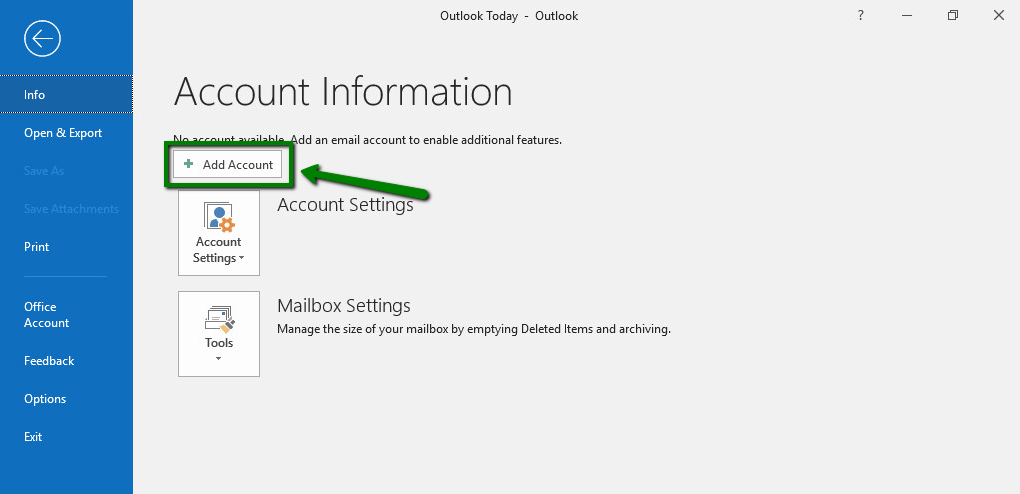
2. If you don't have any mailboxes added yet, you will see the Account Information page. Click the + Add Account button there.
If you have mailboxes set up already, go to File tab >> Info >> Account Information and click the + Add Account button:
3. Type in your full Private Email address and click Connect: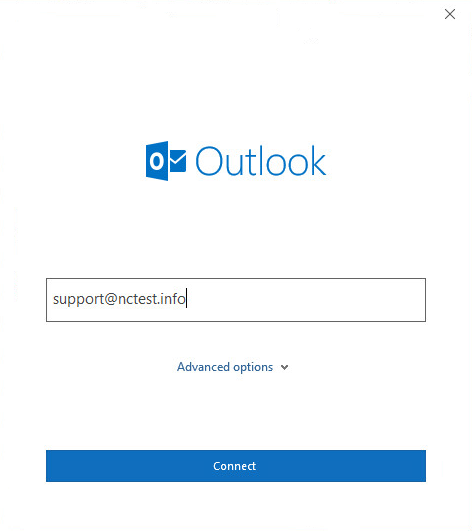
5. Select the Change account settings option and click Next. On the next page, select the IMAP option: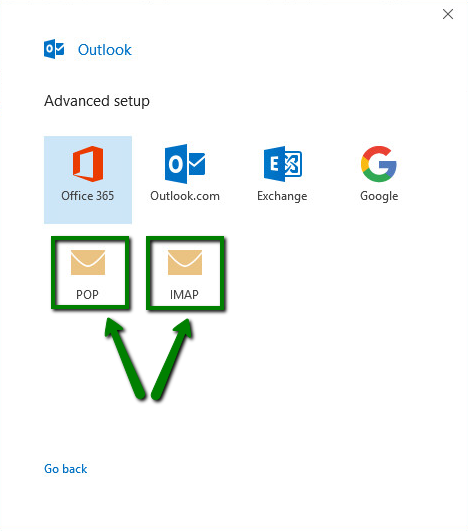
- Incoming mail server: mail.privateemail.com (same for all accounts)
- Incoming mail port: 993
- Encryption method: SSL/TLS
- Require logon using Secure Password Authentication (SPA): should be checked
- Outgoing mail server: mail.privateemail.com (same for all accounts)
- Outgoing mail port: 465
- Encryption method: SSL/TLS
- Require logon using Secure Password Authentication (SPA): should be checked
7. Once all the details are filled, click Next.
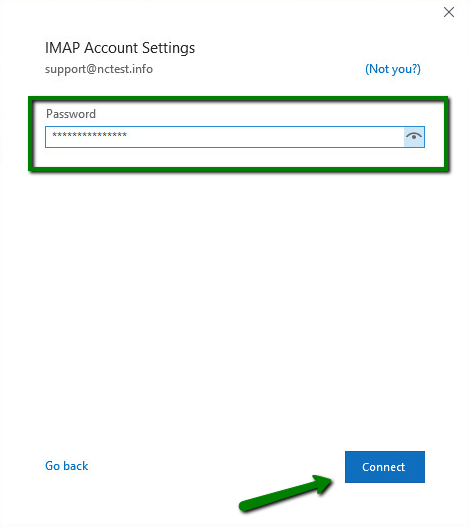
8. After that, type in your password for this Private Email account and click Connect: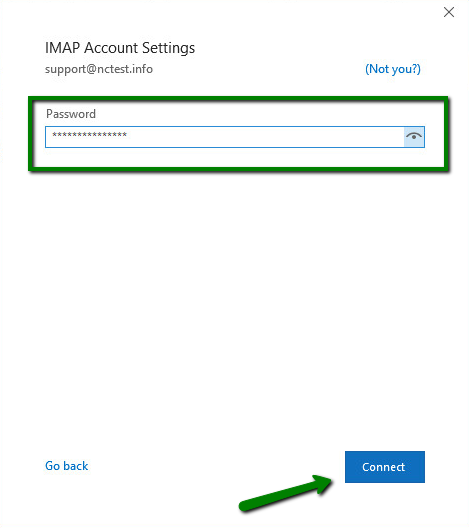
10. If all the settings are correct, you will receive the following message. 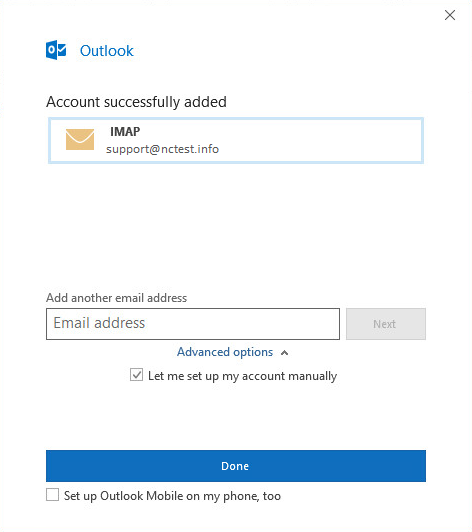
Click Done to complete the setup.

